Table of Contents
When installing LED strip lights, achieving a clean and professional look around corners can be a bit challenging. This guide will walk you through the process to help you install LED strips neatly around corners without damaging the lights.
Step 1: Plan Your Layout
Before starting, map out where your LED strips will be placed. This helps in determining where the corners are and how much LED strip you’ll need.
Step 2: Using L-Shaped Corner Connectors
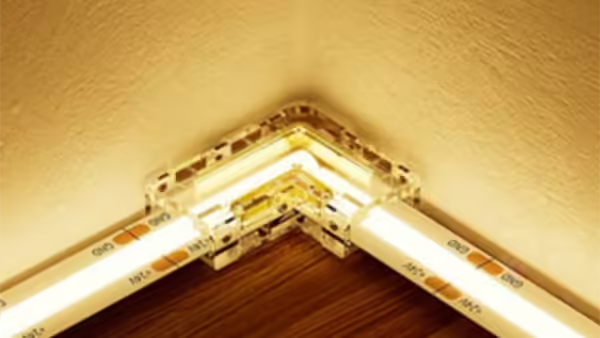
For sharp 90-degree angles, an L-shaped corner connector is an ideal solution. This connector allows you to neatly turn the strip around the corner without any gaps in illumination, as the lighting reaches right up to the corner itself.
To use them:
- Cut the LED strip at the designated cut points.
- Attach the strip to the L-shaped connector by sliding it into the slots.
- Secure the connection to ensure it’s firm and reliable.
To use them:
- Cut the LED strip at the indicated cut points.
- Attach the strip to the corner connector by carefully sliding it into the slot.
- Secure the connection to ensure a strong bond.
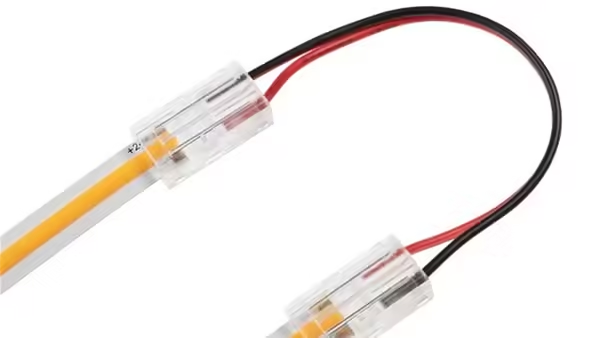
Step 3: Connecting Two LED Strips with Fast Connectors (with Wires)
If you need to extend your LED strips or navigate around more flexible areas, fast connectors with wires are a great option. These connectors do not require soldering and are quick and easy to use.
- Cut both strips at their designated cut points.
- Insert each strip into the fast connector, ensuring that the positive (+) and negative (-) sides are aligned.
- Secure the connectors to ensure a proper fit.
Note: Using wired connectors may result in a small area near the corner without illumination, as the wire takes up space between the two LED strips. This method is more suited for sections where the lighting doesn’t need to reach right up to the corner.
Step 4: Securing the LED Strips
Once you’ve dealt with the corners, it’s time to secure the LED strips to the surface. Clean the surface to remove any dust or debris before peeling off the adhesive backing of the LED strip. Stick the strip in place, ensuring it follows the contour of your planned path, including corners.
Step 5: Test the Lights
After installation, plug in the LED strip and test the lights to ensure that everything works smoothly. If there are any issues with connectivity at the corners, double-check the connectors or the bent sections for any misalignment or damage.
Final Check: Test Your Installation
After installation, plug in the LED strip and test the lights to ensure everything is functioning as expected. If there are any connectivity issues at the corners, double-check the connectors and ensure the strips are properly aligned.